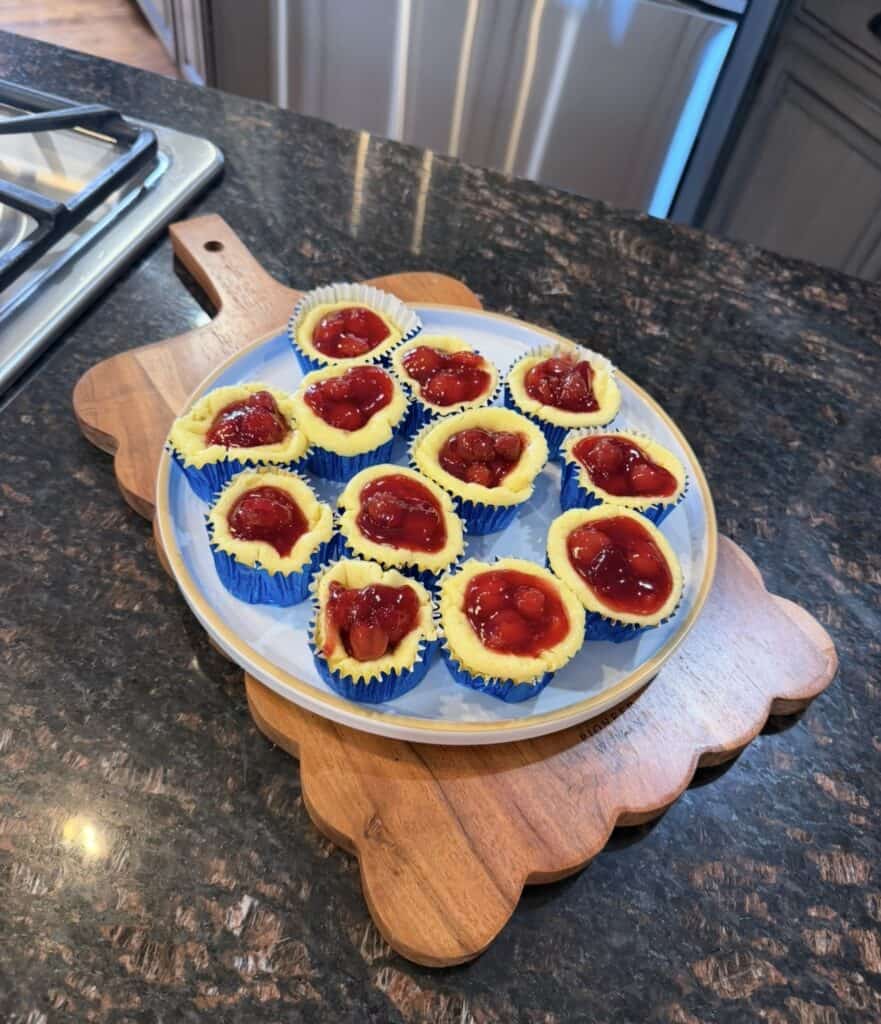
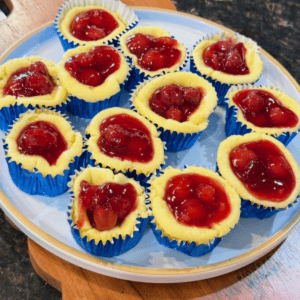
these Mini Cherry Cheesecakes are one of them. They’re creamy, rich, perfectly sweet, and topped with bright, juicy cherries that make every bite feel like a little celebration.
Lori holding Mini Cherry Cheesecakes
What I love most about this recipe is how simple it is.
With just a handful of everyday ingredients and a muffin pan, you can create a dessert that looks like it came straight from a bakery.
Perfect for any gathering!
Using a vanilla wafer as the crust saves so much time while still giving you that buttery, slightly crisp base that pairs perfectly with the creamy cheesecake filling.
There are so many reasons this recipe has become a family favorite.
No complicated crust to make
Individual portions are perfect for serving
Creamy, smooth cheesecake filling
Beautiful presentation with very little effort
Easy to make ahead
Great for holidays and entertaining
Kid-friendly and adult-approved
Ingredients for Mini Cherry Cheesecakes
Ingredients for Mini Cherry Cheesecakes
How to make Mini Cherry Cheesecakes: ingredients you need!
You'll only need a few simple ingredients:
12 vanilla wafers
2 (8-ounce) packages cream cheese, softened to room temperature
¾ cup granulated sugar
2 eggs, room temperature
1 tablespoon lemon juice
1 teaspoon vanilla extract
1 (20-ounce) can cherry pie filling (you’ll only use about half the can)
That's it!
Mini Cherry Cheesecakes Video Tutorial
For those of you who would love a visual step-by-step tutorial here is one for you!
How to Mini Cherry Cheesecakes
Mini Cherry Cheesecakes
How to make Mini Cherry Cheesecakes: a step-by-step guide
1. Preheat Oven to 350
2. Place 1 Vanilla wafer in the bottom of each liner
3. In a large bowl beat together: cream cheese, sugar, eggs, lemon juice and vanill
Cream cheese for Mini Cherry Cheesecakes Homemade Vanilla Extract Mini Cherry Cheesecakes
4. Mix all together until combined. It's okay if there are a few small lumps.
Lemon Juice Mini Cherry Cheesecakes
4. Crazy Busy Mama Tip: – always crack those eggs in a separate container before you add them to batter to ensure you don't have any shell
Eggs Mini Cherry Cheesecakes
Blended Mini Cherry Cheesecakes Vanilla Wafers Mini Cherry Cheesecakes
5.
Divide the cheesecake batter evenly among the 12 muffin cups, filling each about ¾ full.
Bake for 18–20 minutes, or until the centers are set but still have a slight jiggle.
Remove from the oven and allow the cheesecakes to cool completely.
Refrigerate for at least 2 hours (overnight is even better).
Before serving, spoon about 1 tablespoon of cherry pie filling onto each cheesecake.
Assembling Mini Cherry Cheesecakes
Now these mini cherry cheesecakes are ready to ENJOY!
Mini Cherry Cheesecakes
These mini cherry cheesecakes are perfect to make and bring with you!
To go Mini Cherry Cheesecakes container
Looking to bring an easy dessert to a cookout? If so, grab this super cute container HERE
Mini Cherry Cheesecakes: SIDE IDEA
To go Cupcake Container Mini Cherry Cheesecakes
Those are the recipes I love sharing most.
Crazy Busy Mama Tip
* These can be made a day ahead and kept refrigerated. * You can substitute blueberry, strawberry, or apple pie filling for a different flavor. * Store leftovers in the refrigerator for up to 4 days. These are always a crowd favorite because they’re easy to make, perfectly portioned, and the vanilla wafer creates a delicious little crust without any extra work.
⭐️⭐️⭐️⭐️⭐️
Mama, If you give this recipe a try and love it, I’d be thrilled if you could leave a comment and a 5-star rating below! Your feedback not only makes my day but also helps me understand what kinds of recipes you'd like to see more of.
If you love these Mini Cherry Cheesecakes, be sure to check out these other easy dessert recipes here in my top selling Crazy Busy Mama Dessert Cookbook that will add fun and flavor to every meal.
You’ll never stress over the “what’s to eat” question again! Because they’re filled with quick easy recipes that you’ll whole family will love (And they may even help you make).
From easy weeknight dinners to crave-worthy desserts, my cookbooks are packed with simple, delicious recipes and tips to save your sanity. It’s like having me right there in your kitchen, guiding you through stress-free meals your family will rave about.
Ready to reclaim your mealtime mojo? Grab a Crazy Busy Mama Cookbook now and let’s cook up some magic together!
And P.S. I have a stress free monthly meal planning service (with grocery lists included) for less than the cost of a cup of coffee! You get recipes and grocery lists delivered right to your inbox weekly! You can check it out here!
Preheat your oven to 350°F.Line a 12-cup muffin tin with paper cupcake liners.
Place 1 vanilla wafer in the bottom of each liner
In a large mixing bowl, beat together:Cream cheese, Sugar, Eggs, Lemon juice, Vanilla
Mix just until combined. It’s okay if there are a few small lumps.
Divide the cheesecake batter evenly among the 12 muffin cups, filling each about ¾ full.
Bake for 18–20 minutes, or until the centers are set but still have a slight jiggle.
Remove from the oven and allow the cheesecakes to cool completely.
Refrigerate for at least 2 hours (overnight is even better).
Before serving, spoon about 1 tablespoon of cherry pie filling onto each cheesecake
Notes
Tips* These can be made a day ahead and kept refrigerated. * You can substitute blueberry, strawberry, or apple pie filling for a different flavor. * Store leftovers in the refrigerator for up to 4 days.These are always a crowd favorite because they’re easy to make, perfectly portioned, and the vanilla wafer creates a delicious little crust without any extra work.











So yummy! These are delish and perfect for the summer in the little individual servings!
So good and easy to make.
Awesome!Will be curious to see how you love them. Make sure to come back and share when you do.